How to measure a closet rod and its brackets before you replace it
How to measure a closet rod and its brackets before you replace it
The short version
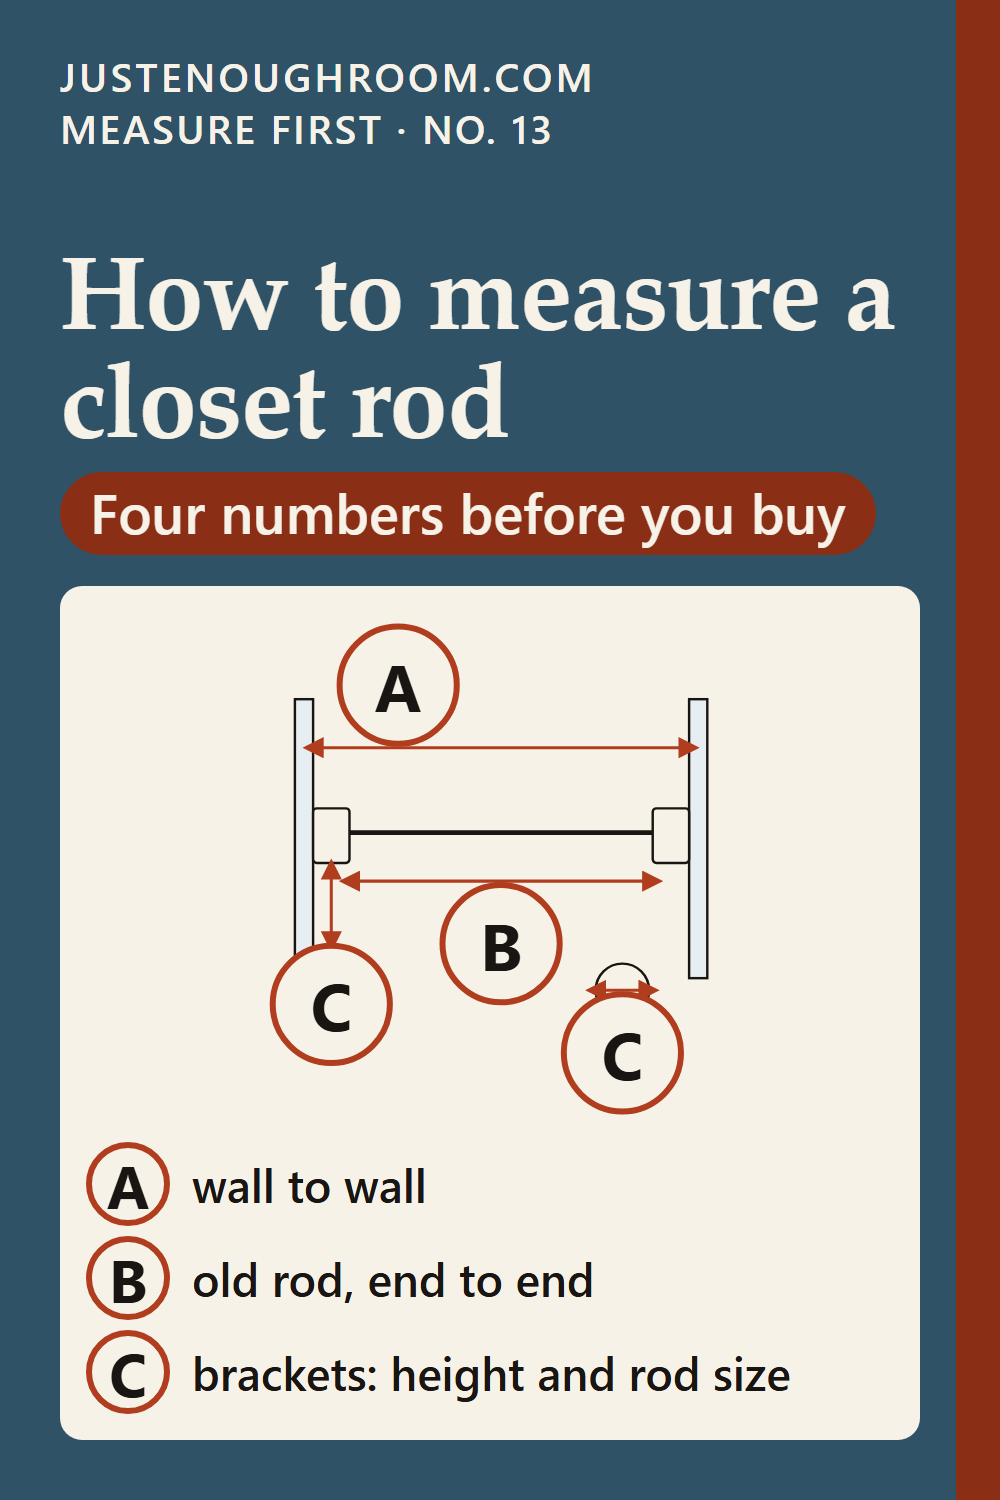
- A · wall to wall
- B · old rod, end to end
- C · brackets: height and rod size
Write down all four numbers before you shop for a new rod.
https://justenoughroom.com/measure-closet-rod-and-brackets/
If you need to measure a closet rod, take four numbers before you shop: the space from wall to wall, the old rod from end to end, the bracket height and the rod diameter.
Replacement rods and brackets are listed by size, so having them written down saves a second trip.
What you need
- A tape measure
- A pencil and paper
- A step stool
-
Measure from wall to wall (A)
Measure across the closet at the height of the rod, from one side wall to the other. A new rod has to be a little shorter than this so it fits into the brackets.
-
Measure the old rod end to end (B)
Take the old rod down and measure it from end to end, including the parts that sit inside the brackets. Compare that number with the maker's listed length, and note whether your rod is cut to fit or adjusts. If the old rod has a support in the middle, note where it sits; a long rod without one can bend under the weight of clothes.
-
Measure the bracket height (C)
Measure from the floor to the bottom of each bracket. If the two numbers do not match, write down both.
-
Measure the rod diameter (C)
Measure across the end of the rod. Check the rod diameter listed for the brackets you keep; a new rod has to match it. Follow the maker's installation instructions, and if you rent, ask your landlord before you attach anything to a wall or ceiling.
How this page was made
Drafted with AI tools and checked by automated rules and a second AI review before publishing. Spotted an error? Write to [email protected]. Nothing on this page is a product claim, and there are no store links here. How we choose.