Garage wall storage ideas: map the wall before you buy shelves
Garage wall storage ideas: map the wall before you buy shelves
The short version
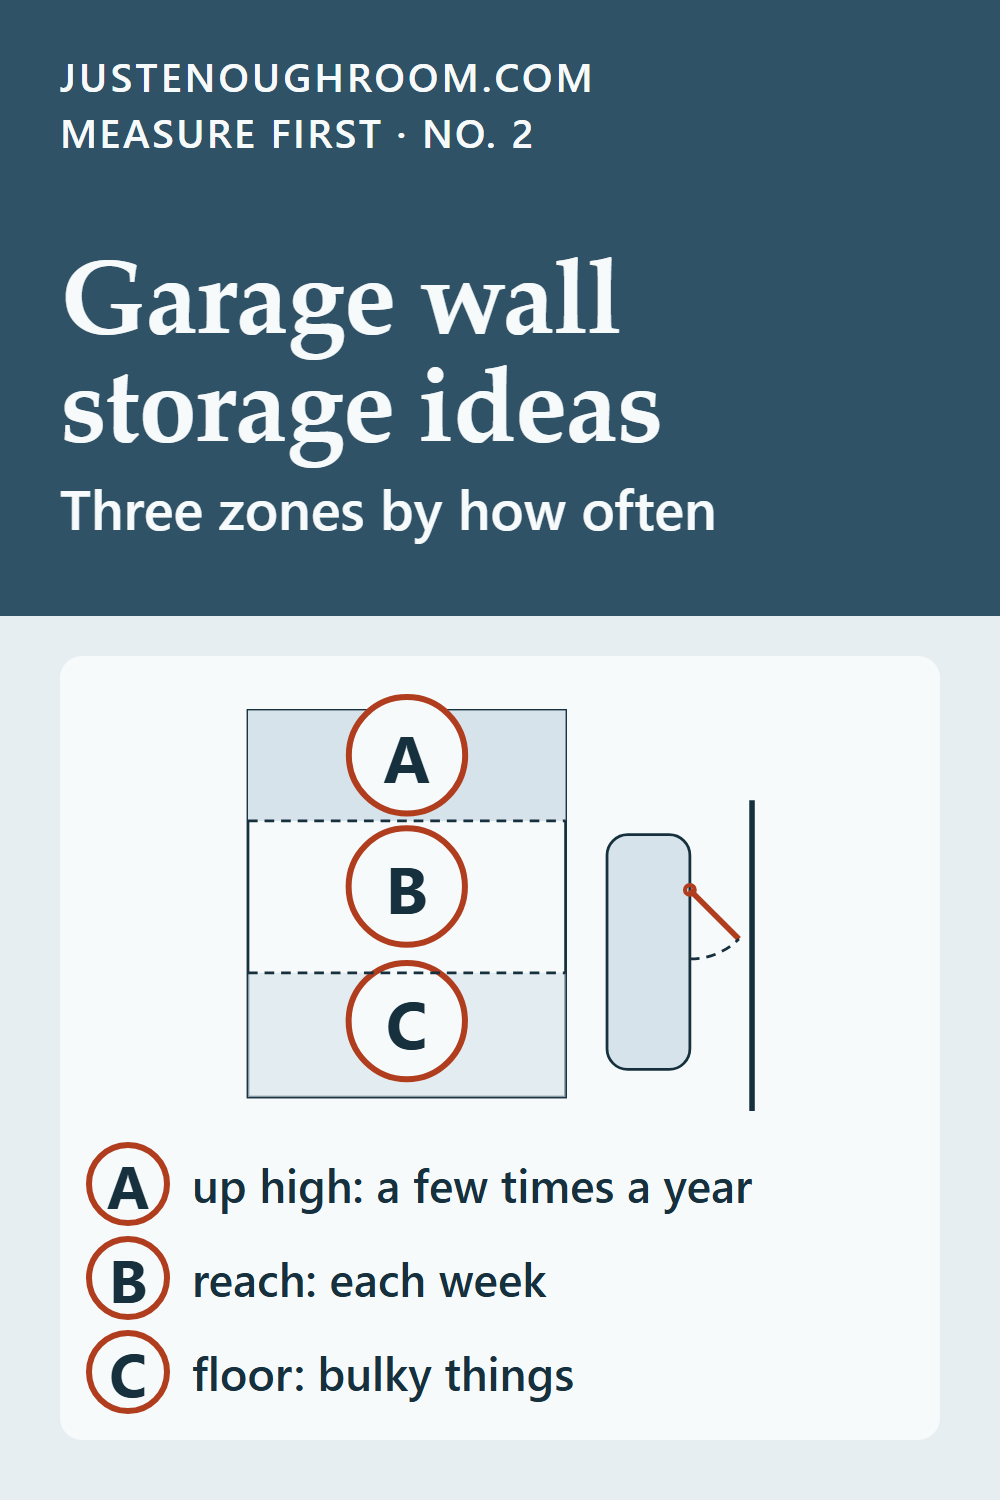
- A · up high: a few times a year
- B · reach: each week
- C · floor: bulky things
Map the wall into three zones before you buy shelves or hooks.
https://justenoughroom.com/garage-wall-storage-plan/
Garage wall storage ideas are easier to choose once the wall is split into zones. A shelf that fits the wall can still block a car door or cover the only outlet.
This plan takes one wall at a time and ends with a sketch you can compare with any maker's sizes.
What you need
- A tape measure
- A step stool
- Painter's tape to mark the wall
- A pencil and paper
-
Mark what has to stay clear
With the car parked, open its doors and mark on the floor how far they swing toward the wall. Then open the garage door and note where its tracks and the open door sit near the top of the wall. Note windows, outlets, switches, the water heater and the path to the house door.
-
Split the wall into three zones
Use the floor zone (C) for bulky or heavy things and anything on wheels. Use the reach zone (B), between your knees and the top of your head, for what you use each week. Use the overhead zone (A) for light things you use a few times a year, and keep it clear of the garage door tracks and the open door. Mark the zones on the wall with painter's tape.
-
Measure each zone
Measure the width of each zone, the height of the reach and overhead zones, and how far a shelf can stick out before it meets the space you marked for the car doors.
-
List what goes in each zone
Write down what you want to store in each zone. Long items, like rakes and ladders, need wall length more than depth. Bins need depth.
-
Compare your sketch with the maker's sizes and mounting
When you look at shelves, rails or hooks, check each maker's width, depth and mounting type against your sketch. Follow the maker's installation instructions, and if you rent, ask your landlord before you attach anything to a wall or ceiling.
How this page was made
Drafted with AI tools and checked by automated rules and a second AI review before publishing. Spotted an error? Write to [email protected]. Nothing on this page is a product claim, and there are no store links here. How we choose.